Tuesday 15 March 2016

HOW TO WASH YOUR MAKEUP BRUSHES


Hello all,
So my last post was all about the 411 with brushes, so I deemed it only necessary to talk about keeping those brushes clean and healthy. 
For me, washing brushes is essential but some may think it's a waste of time and they just can't be bothered! Which I totally understand but your brushes should be treated like children, and who wants their children to be dirty and carrying bacteria?! 
Washing your brushes at least once a fortnight, (a deep clean) especially brushes that you use for foundation as the bacteria will build up faster on them and transfer to your face when you use them, which can cause breakouts and all those things you don't want your skin like. However washing them also gets all the product off them so your blending can be perf and helps to maintain your brushes.

There are a few different ways you can wash your brushes, but my personal favourite is a good old deep clean. (the kind you do every couple of weeks) 


First of all the soap. I like to use baby shampoo because it's gentler than an ordinary shampoo and conditioner and it's cheaper! It makes your brushes smell amazing and feel so soft. It's also really cleansing and gets all the product out of your brushes. 


To really get deep into my brushes I use this Makeup revolution Pro Cleanse Brush Tool which makes it so much easier to really get your brushes clean because the texture means it gets in all parts of the bristles. (This ones only £4.99 and it's amazing) It just fits on your fingers and voila! Super easy to use. 


First things first - I put a good load of baby shampoo in a little bowl, as it stops me from getting too much on the brushes and gets just the right amount. Also it saves the product. I also fill a cup with water to dip the brushes into to dampen them. 

The hardest things in my opinion to wash are sponges. I first start off by wetting it like you usually would to use it and then dip it into the shampoo, making sure that it's fully coated.

Then squeeze the soap into the sponge until you can tell it's all in the sponge and the foundation will start to come out as you squeeze it. 

To get more out, I like to rub it on the back of the tool as its smooth and won't damage the surface of the sponge. This also gets the soap all in the sponge. Once the sponge surface looks clean and the water runs clear when you squeeze the sponge, run it under the water again to get all the soap out. 

The sponge may look slightly deformed but don't worry, it's just how the soap leaves it. It will go back to shape when it's dry. 

Brushes
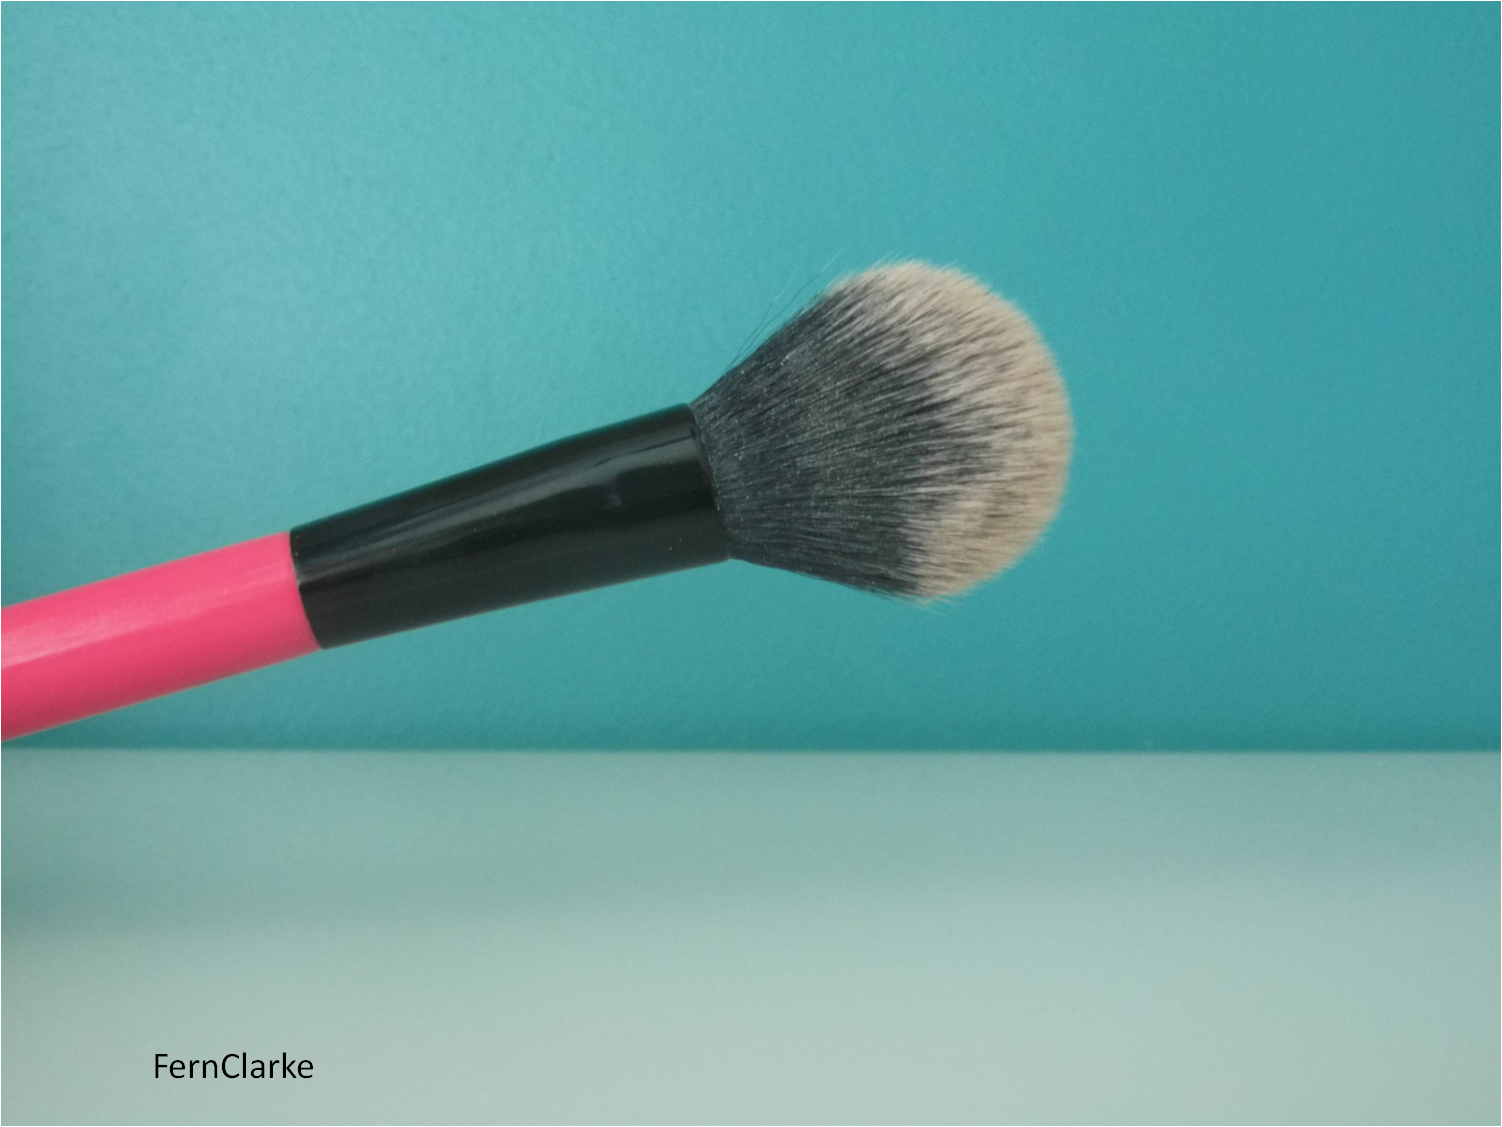
For all brushes, the most important thing to remember is not to get water in the metal part of the brush, as shown in the picture. You don't want to get anything in the top or bottom of this part as thats where the glue is holding the bristles together and in shape, meaning if water gets in them, the glue will disintegrate and your brush will fall apart - so be very careful!

example using a real techniques buffing brush
When washing your brushes, you want to first of all damped the brush, by running it under lukewarm water and then dipping it into the soap. 


Then you want to swirl the brush on the cleansing tool so the soap bubbles up. You want to keep doing this and adding more soap until the water and bubbles run clear. A good way to check that your brush is fully clean is to get a little bit of soap on it, and if it bubbles up quickly then it's clean! 


You then want to squeeze the water out the brush to make it dry faster and fully ensure that all he soap is out. 


Finally you want to stand your brush at an angle so all the water drains off it. I like to put it near the window as well so it dries faster. You could also lye it off the edge of a counter like a lot of people do but i just prefer this way as I find it helps to keep the shape better. 

Another great way to wash your brushes is to use your hands! They're the best tools we were blessed with so why not use them?! Just do exactly the same thing as you would with a tool except swirl the brush around on your hand.
This is great if you don't have a tool or anything and it's super easy. It works just as good as a tool because your hand is naturally textured, and the gaps between your fingers are great for smaller brushes and across for a change of texture. However it is a bit harder to wash small detail brushes (e.g angled brow brushes, concealer and eyeliner brushes.)

Finally eyes. The top of the tool is especially good for eyes and detailed  brushes as the little bobbles are so close together it gets right in the hard to get to parts of the brushes. I especially love this for my little concealer brushes as it gets all the product off.
Also when washing smaller brushes, you want to make sure you get the sides as the product tends to stick there more.


For these smaller brushes, I think it's easier to do a few at a time. They all clean just as well it just saves time, soap and effort.

I hope this post was helpful and that these tips and tricks help you to keep your brushes clean and healthy! If you have any brush washing tips please let me know in the comments or any social media!

Thanks you for reading!
Fern :) 


Friday 4 March 2016

GUIDE TO BASIC MAKEUP BRUSHES

Hello all,

Today I thought I'd talk about brushes. I'm a firm believe that if you've got a good set of brushes your makeup will always be good, no matter how bad the quality of the makeup. A decent set of brushes will mean that you get the most out of you products. When I first started playing with makeup (throwback to blue eyeshadow and magazine lipsticks) I had no idea what brushes even did and thought that the lovely sponge applicator that came with the bright eyeshadows was the height of makeup quality.
So after many hours spent on youtube and various beauty blogs, I now have a pretty good idea of what brushes should be staples in your set and what they're used for.

You'll have to excuse the cleanliness of my brushes, they need washing. I recommend washing your brushes once every week, especially foundation and concealer to get rid of all the gross bactirea on them!

right: flat top face brush (amazon) left: real techniques buffing brush

The first brushes are buffing/blending brushes. These are best used for blending foundation onto the skin. These are especially good compared to a flat foundation brush because they are fatter topped and have more surface area, meaning they will blend the product out more thoroughly and avoid any harsh lines. (and we don't want a foundation line yikes!)
These two are my favourite because they're synthetic and sooo soft and do the job so well.

real techniques, miracle complexion sponge
Next up is my absolute fave! (it's not actually a brush but lets roll with it) This is a blending sponge, not one of those cosmetic wedges or the cheap ones it's a proper blending sponge, like the super fancy beady blender. There's nothing better in my opinion to blend out your foundation and concealer with. It leaves a super flawless and weightless finish. These sponges work by wetting them and bouncing them onto the skin to blend your foundation in, super easy! And this specific one is super inexpensive (like £5.99 and they last for ages)  The flat edge is perfect for applying all over your face and the pointed end is perfect for getting under the eyes and in all those nooks and crannies! - 110% life for this 'brush'

Ted Baker powder brush
Next up is a powder brush. I use this everyday to set my foundation and concealer and to get a nice matte finish. This brush is perfect for this as it's so big and so little and easy to hold you can swipe it around your face easily and be done in like 5 seconds.

real techniques: duo fibre contuor brush
Another face brush is blush! I think synthetic brushes are best for blush because they stop it from looking patchy and blend easier. This one is especially good because it's the perfect size to fit right on your cheeks and cheekbones to blend it back, meaning you can't apply too much, so you don't look like you've got a sweat on. (unless you like that look then you do you boo.)

Eco tools: tapered blush brush
Bronzer, my fave. This brush is perfect for bronzing and contouring, because it's the perfect size as it's not too big or small. The hairs go into like a rounded point, so they're all different length meaning you can get right in the hollows of your cheekbones. I tend to go crazy with my contour as well, so this brush is amazing as it's a medium density so it will blend as you apply the product, so you wont have muddy streaks on your face! 
seventeen cheeks brush
Finally for face is highlight. I use this brush for highlight because it's so fluffy and can apply lots (y'all know I wanna be a disco ball) as well as blend it at the same time so it's not streaky, and applies the product beautifully. Also it's quite thin so it's like a fatter fan brush, so it does the same job but applies more, so perfect for us glow-lovin people!


Morphe G17, sigma E25, ted baker lid 
So onto eyes. I would use these 3 brushes for every eye look - from simple to hard core smokey these will blend your shadows out gorgeously.
The first is a big blending brush, so you can blend a colour seamlessly into your crease and blend out any dark shadows. This Morphe one is also so soft and has a rounded tapered style, so it fits perfects in the crease for an overall bleand, which is perfect for every eye shape. In my opinion, this is THE MOST IMPORTANT brush ever, because unblended eyeshadow is a crime!
Next is a more precise blending brush, for deepening the crease or applying a shade to the outer colour. This brush is so gorgeous and the rounded end makes it's blending super powers amazing.
Finally, the all over lid. This brush is fluffy so it wont apply too much shadow to look streaky, but enough to cover the lid evenly. Also this brush is lovely to use for highlight as it's not too big or small.


Last but not least, eyebrows. This brush is amazing as it's duel-ended with a brush and spoolie.  If you use a powder or gel type of product for your eyebrows, this brush is perfect! The brush side is angled, so you can sculpt your brows out sooo strong it's unreal. It's great for this as it's so soft and applies the perfect amount of product, so you have perfectly shaded brows!
On the other end is the spoolie! Super important for your brows as you want them to be brushed out, and not this can also blend some of the product!

Overall these brushes manage to get me through every makeup look ever (or there abouts) Some of these brushes are high end, but good brushes mean good face days. However there are some amazing drugstore brushes such as real-techniques, which are affordable and work so well!
I hope you enjoyed this post and it helped you in some way, shape or form! Let me know on my instagram!

Thanks again!
Fern :)