
Hello all,
So as of about 2 weeks ago, I am the proud owner of my very first Naked pallet, Naked2 to be precise. I literally cannot get over how beautiful this pallet is! Obviously I knew how great it was from the many reviews and videos there on the internet but i never thought it would be this amazing!
I chose the Naked2 above the others because I feel it has the most wearable colours for me and my skin tone and in my opinion, some of the prettiest! (like omg look at 'ydk' it's beautiful)
First of all, the packaging. I'm a bit of a weirdo and like to keep my pallets in the boxes they come in (is that weird, I'm not sure) to keep them protected and also I love packaging! So i have to keep it all!
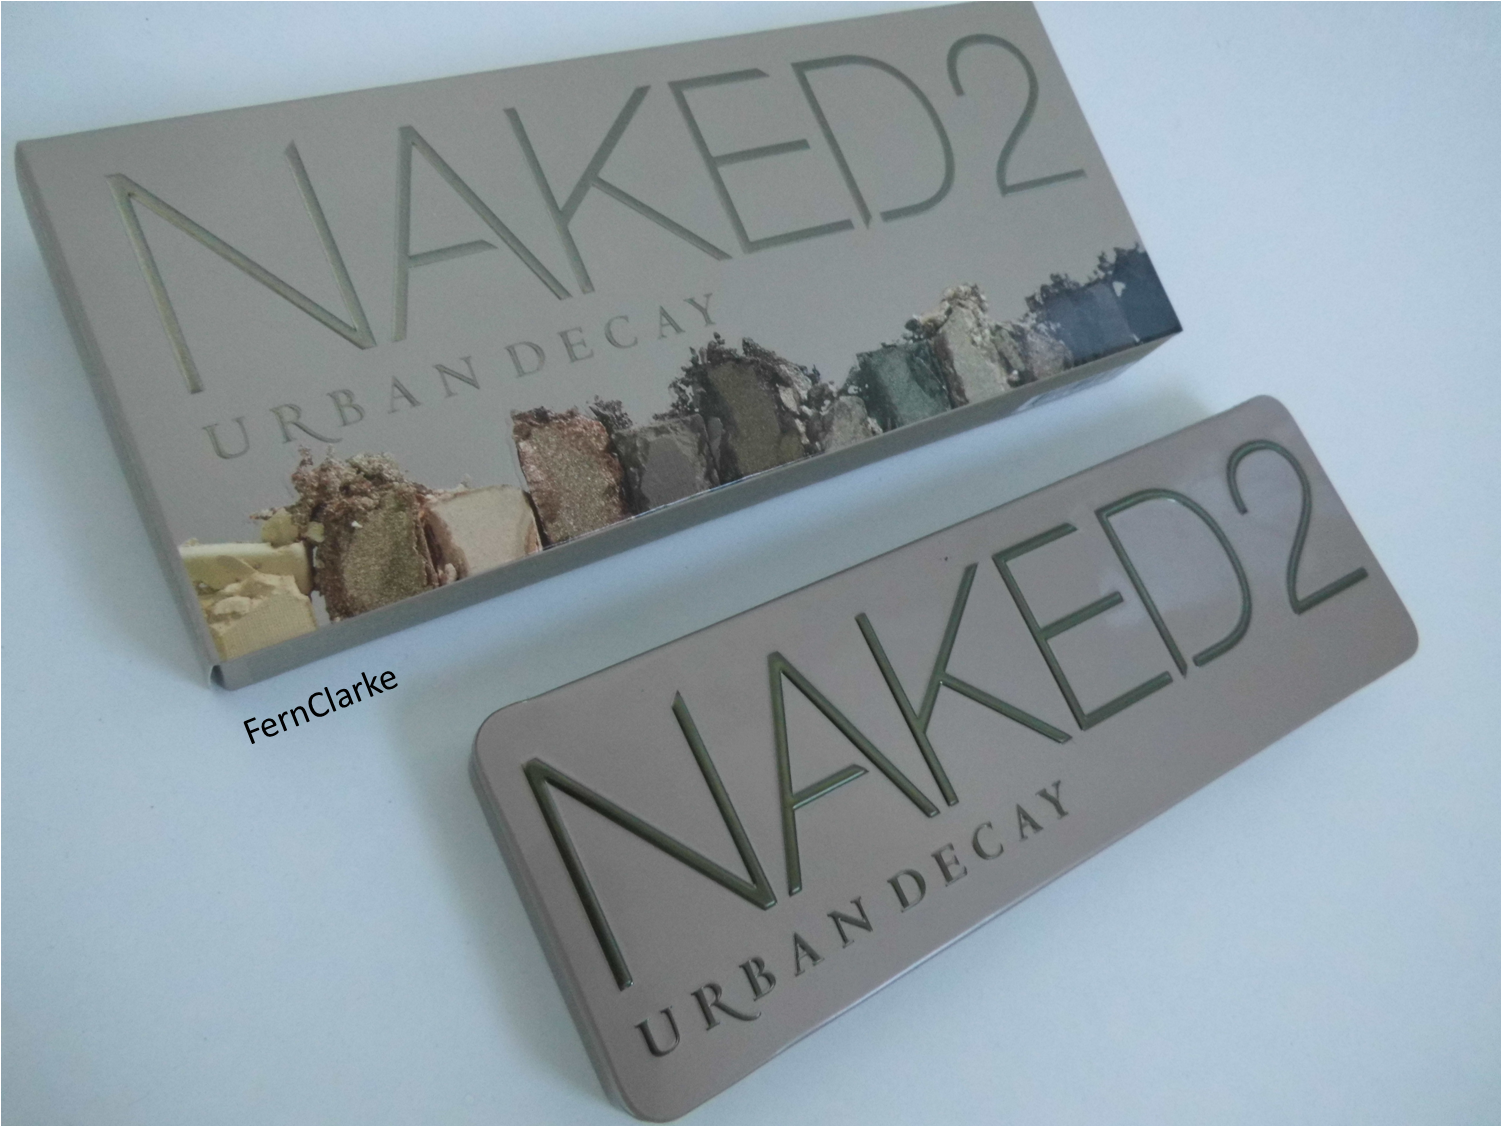
I especially love the box because it's very sturdy and strong, so the pallet is kept safe. It's also really pretty and I really like how it has the colours on, so you can see what you're getting even without opening the box!
The packaging of the actual pallet is good as well because it's metal so it's very strong, however I do prefer the packaging for the original Naked pallet, just because it's a bit more exciting! (it's all fury and soft) But this packaging is strong and the colour is so pretty! i just love it!

So when you open the pallet this is what you see! The mirror is sooo nice because of the shape. It's rectangular which makes it perfect for doing eye makeup!
As you can see the colours are AMAZING! There's a really nice variety of cool tones and warmer tones, which again makes it perfect for every eye colour or skin tone.
My favourite colour in the pallet would have to be 'Bootycall' and 'ydk' just because I love purples and highlight colours!
The only thing I would say kind of annoys me about this pallet is that there's only 3 matte shades, and I absolutely loooooove mattes and it's always good to have at least 2 matte transition shades in a pallet but this only has the one which is 'tease'
Apart from that this pallet is absolute perfection!

It also comes with this super cute brush, which is amazing because the pallet is quite expensive (£38) so it's good you don't have to pay to get the brushes you need. Also the brush is really nice, it's synthetic which means it packs a lot of colour on and is SO easy to clean! The flat shader end (left) is amazing for putting colour all over the lid, however I do think the blending end could be a little more fluffy! But it still does the job of blending!
I really like using the fluffy end to highlight the brow bone because it's fluffy but still quite dense, so it applies the colour really nicely.
 |
| super big picture so you can see! |
I used my finger to apply these to my arm, like I would to my eye as I feel it's the best way to get the most product and pigment onto your lids!
Colours from left to right,
foxy, half baked, booty call, chopper, tease, snakebite,suspect, pistol, verve, ydk, busted, blackout.
As you can see the colours are crazy pigmented and the shimmery colours are super shimmery! like verve and ydk are insane!!!
My two favourite looks that I've made from this pallet are super easy to do and look so pretty!
Look 1
1. start off my priming the eye lid up to the brow-bone.
2. Apply 'foxy' all over the lid, crease and brow-bone to set the primer and to make blending easier.
3. Blend 'tease' into the crease.
4. Apply 'suspect' all over the lid and blend out the edges.
5. Apply 'pistol' into the outer V / third of the lid and blend into the outer crease.
6. Blend 'pistol' and 'tease' along the lower lash line.
7. Apply 'booty call' into the inner corner of the eye and brow-bone and blend so there are no hard lines!
8. (optional) Finally apply eyeliner or 'blackout' along the top lash line to define the eye further!
Look 2
1. start off my priming the eye lid up to the brow-bone.
2. Apply 'foxy' all over the lid, crease and brow-bone to set the primer and to make blending easier.
3. Blend 'tease' into the crease.
4. Apply 'ydk' all over the lid and blend out the edges.
5. Apply 'busted' into the outer third and lightly blend into the outer crease.
6. Blend 'busted' onto the outer third of the lower lash line and 'ydk' on the rest but avoid the inner corner.
7. Apply 'booty call' into the inner corner of the eye and brow-bone and blend so there are no hard lines!
8. (optional) Finally apply eyeliner or 'blackout' along the top lash line to define the eye further and even wing it out if you want more drama!
 |
| My sister took this and wanted me to share, IT'S SO COOL AND SYMMETRICAL!! |
I think this pallet would be amazing with people who are just starting with makeup and want a good pallet to use, because the colours are so bendable and so easy to work with, as well as it coming with a super good brush!
Thankyou so much for reading, I hope you enjoyed!
Let me know if you love this pallet or what your go-to pallet is!
Thanks again!
Fern :)
No comments:
Post a Comment